


Video: Measuring Electrical Resistance (Test Method: ANSI/ESD STM7.1)
August 3, 2017
In this short video, we show you how to perform the ANSI/ESD-approved test, method STM7.1, to measure the electrical resistance of a static-control floor.
Click here for the full video on Electrical Resistance testing.
Visit our Learning Center to find out more about electrical resistance.
For help or advice about choosing an ESD floor, call us on 617-923-2000, email [email protected], or visit our Guide to ESD Flooring Selection.
Electrical resistance, the opposite of conductivity, is the property that stops–or resists–the flow of electricity. Resistance tests use an ohmmeter to measure a floor’s conductivity.
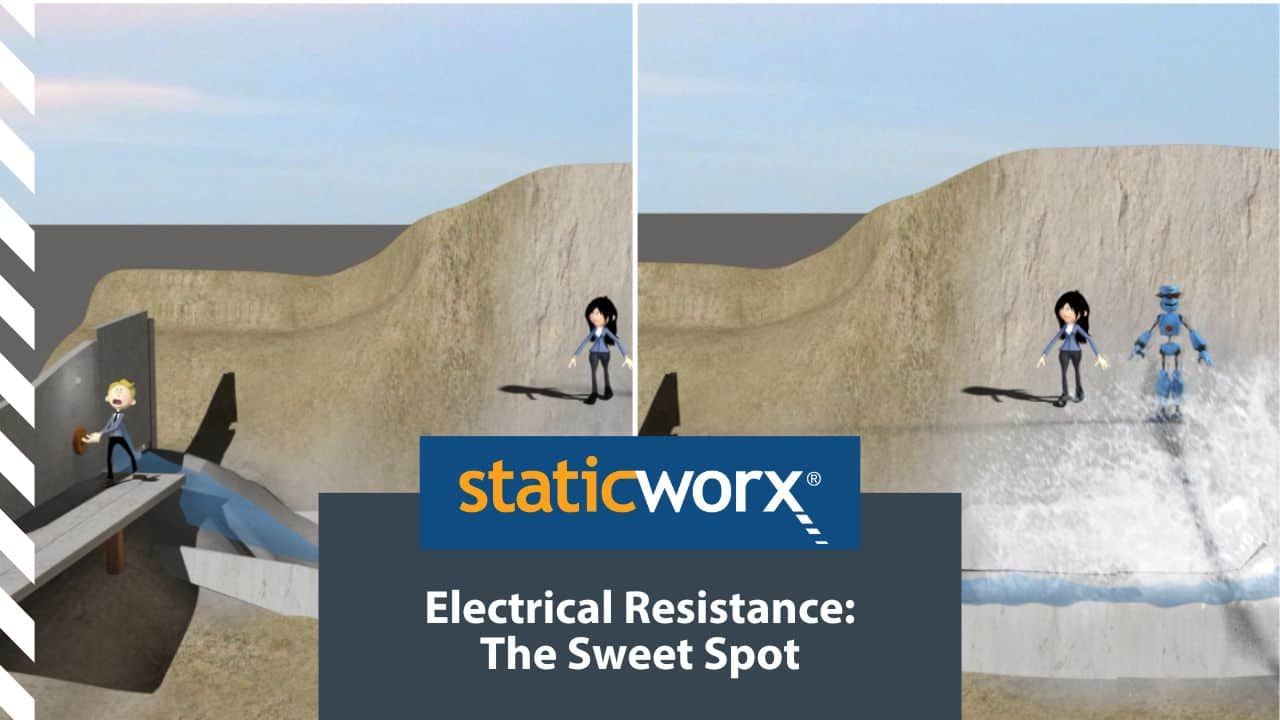
This test will tell you how quickly–or slowly–the floor will discharge static electricity to ground. If the floor is too conductive, currents will flow too quickly, posing a safety hazard. If the conductivity is too low, static will discharge too slowly, rendering the floor ineffective.
The goal is to find the “sweet spot” for conductivity, between 1 x 10E5 and 1 x 10E8 ohms, the range that provides the safest, most effective path to ground.
For the test that we do, we connect with these leads each probe to an ohmmeter. We’re supposed to separate the probes by a distance of approximately 36 inches. So what we’re measuring is the resistance from one tile to the other. And the number we’re getting is 8.9 x 10E5. If you recall, we were talking about the sweet spot. The sweet spot went from 1 x 10E5 to 1 x 10E8, so the resistance measurements I’m getting right now, we would say they’re in the sweet spot.
The second test we do, is instead of measuring from one probe to the other across the surface, we connect one of the probes or the
lead itself to electrical ground. In this particular case, I’ve got the electrical ground set up to be a copper strip. And we do that test and we get 2.2 x 10E5, or it’s now 2.1, or 210,000 ohms. Once again, it’s in the sweet spot.
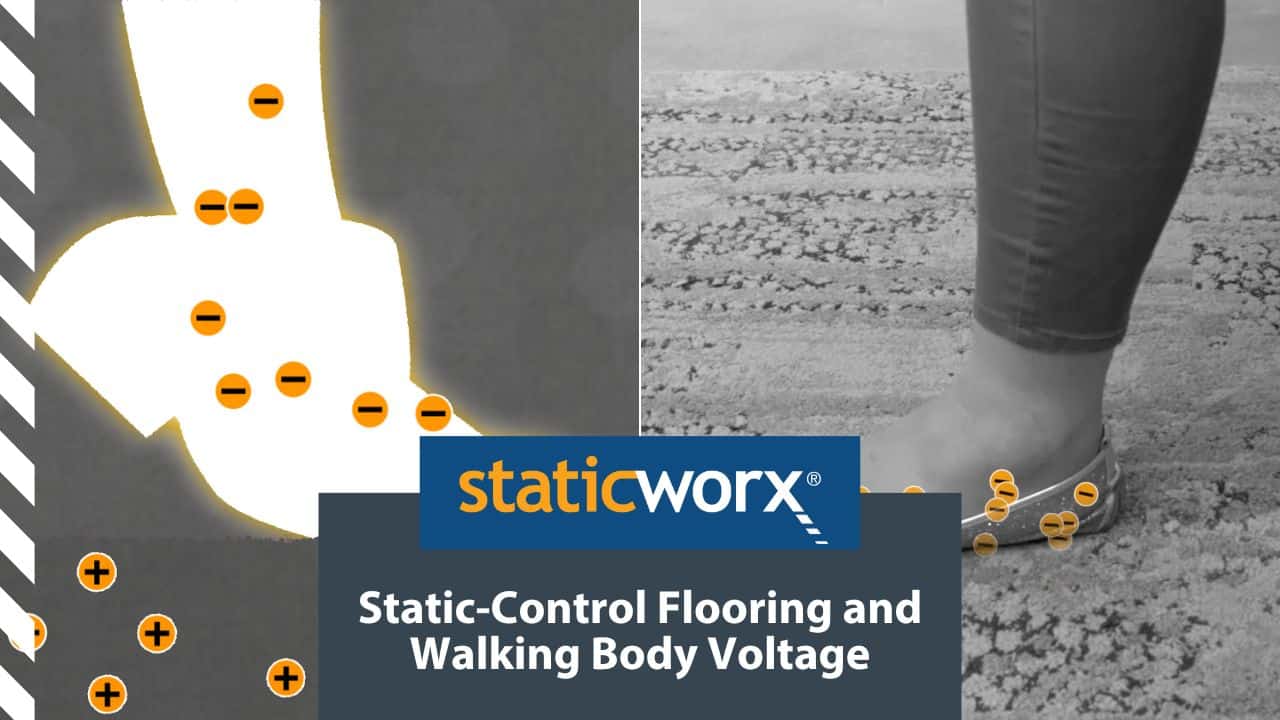
In our next video, we’re going to show you how to conduct a Walking Body Voltage Test, the other thing you need to do to make sure that your facility is safe.
For more information about this test, or to view ESD flooring options, visit staticworx.com, your trusted ESD flooring partner.
Learning Center Articles
- ESD Basics
- Installation & Maintenance
- Selecting & Specifying an ESD Floor
- Technical Information
- 7 Common Mistakes Selecting an ESD floor
- A Guide to ESD Flooring Selection
- Avoid Costly Failures: What You Need to Know When Specifying ESD Flooring
- Choosing ESD Flooring for:
- ESD Footwear: What Is It and When Is It Necessary?
- ESD Footwear for Electronics Manufacturing and Handling Applications
- Facility Managers’ Guide to Selecting ESD Flooring
- The Need for Due Diligence in Specifying Static-Free Flooring
- Standard of Care for Specifying Floors in Mission-Critical Spaces
- Understanding the Hidden Costs of ESD Flooring


StaticWorx high-performance static-control floors protect electronic components, explosives, and high-speed computers from damage caused by static electricity. ESD flooring is part of a system. Choices should always be based on objective, researched evidence. When you partner with us, we look at all possible items that may need to integrate with the floor, and, focusing on your goals and objectives, help you find the right floor for your application.
